
Proper Positioning for a Concrete Block Lifting Device
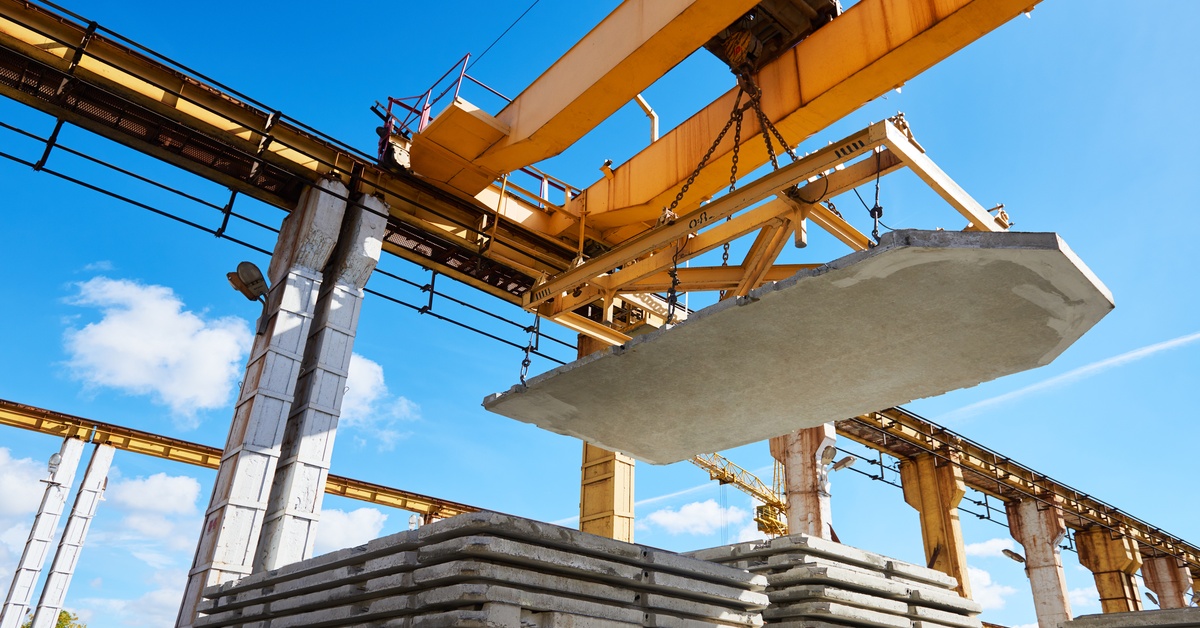
If you’ve ever tried to move a massive concrete block with the wrong setup, you know how fast things can go sideways. The block tips, the rigging slips, or worse, someone gets hurt.
Properly positioning a concrete block lifting device isn’t just about making the job easier. It’s about keeping your crew safe and your project on schedule.
Whether you’re moving Jersey barriers, bin blocks, or custom precast units, the way you position your lifting attachment matters more than most people think. Let’s walk through what actually works on the jobsite.
Positioning: The Key to Safe, Successful Lifts
Concrete blocks are dense, awkward, and unforgiving. They don’t have convenient lifting points stamped into them like steel beams. And unlike lumber or pipe, you can’t just toss a strap around them and hope for the best.
When your concrete block lifting device isn’t positioned right, a few things happen. The load shifts during the lift. Your machine works harder than it should. The block might crack or chip at the contact points. And in the worst case, the whole thing comes crashing down.
Good positioning keeps the center of gravity stable. It evenly distributes the load across the lifting points. And it gives your operator complete control from pickup to set-down.
Start With the Right Attachment
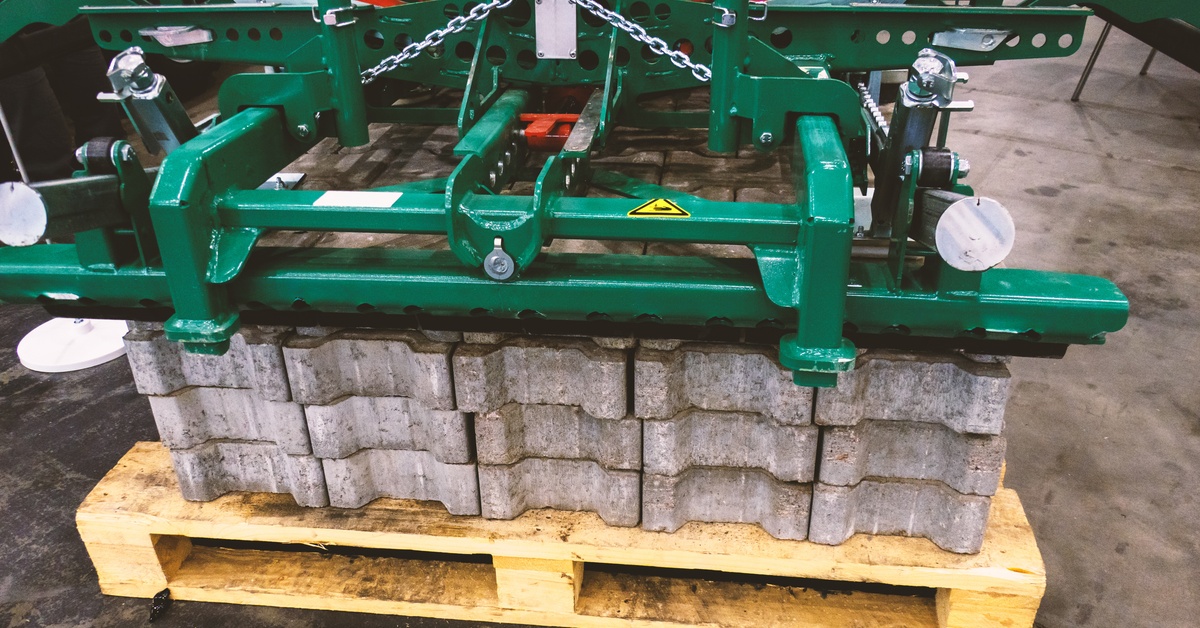
Before you even think about positioning, make sure you’re using the right tool for the job. A Kenco Bin Block Lifter is purpose-built for this kind of work. It grabs blocks from the inside using expandable arms, which means you’re not relying on friction clamps that can slip on wet or dusty surfaces.
If you’re dealing with odd shapes or custom precast units, check out Kenco’s Specialty Lifters. Kenco engineers these for non-standard loads that don’t work with off-the-shelf attachments.
Using the correct attachment from the start makes positioning a whole lot easier. You’re not fighting the equipment. You’re working with it.
Step-by-Step Guide to Stable Block Lifting
Here’s the step-by-step breakdown that actually works in the field.
Get your machine squared up. Park your excavator, wheel loader, or crane and center the boom directly over the block. If you approach at an angle, the load will swing as soon as it leaves the ground. That’s when things get dangerous.
Find the center of gravity. For most rectangular blocks, it’s dead center. But if you’re lifting L-shaped barriers or blocks with cutouts, the balance point shifts.
Even a slight miscalculation in the center of gravity can force your equipment to work harder or create an unstable lift. Take a second to eyeball it. If you’re not sure, err on the side of caution and do a test lift an inch off the ground before you commit.
Position the attachment evenly. Whether you’re using internal grippers or external clamps, make sure both sides engage at the same height and depth. Uneven contact means uneven pressure, and that’s how blocks crack or slip out mid-lift.
Check your angles. The lifting line should be as close to vertical as possible. If your rigging is pulling at a sharp angle, you’re adding side load to the attachment and the block. That stresses everything and increases the chance of failure.
Keep it low and slow on the first move. Lift the block just a few inches and pause. Watch for any tipping, slipping, or unusual movement. If something feels off, set it back down and reposition. It’s way easier to fix it on the ground than in the air.
Common Mistakes That Cost You Time and Money
Even experienced operators make positioning mistakes when they’re in a hurry. Here are the ones we see most often.
Rushing the setup. You think you’re saving time by skipping the alignment check. Then you spend twenty minutes repositioning because the block won’t sit right. Do it right the first time.
Ignoring surface conditions. Mud, gravel, and uneven ground all affect how your machine sits and how the load behaves. If your excavator is tilted, your lift is starting off-balance.
Overloading the attachment. Every lifting device has a rated capacity. If you’re pushing it to the max, positioning becomes even more critical. There’s no margin for error when you’re at the weight limit.
Using worn or damaged equipment. Bent arms, cracked welds, or stretched cables change how the attachment grabs and holds. If your gear isn’t in good shape, even perfect positioning won’t save you.
When to Get a Custom Lifting Attachment
Not every concrete block is a standard size. Some jobs involve massive L-walls, split-face blocks, or precast panels with embedded hardware. If your current setup isn’t cutting it, don’t force it.
Kenco’s engineering team can design custom attachments for specific block profiles and weight ranges. If you repeatedly face lifting challenges that slow down your crew, a custom solution could boost your productivity and minimize interruptions.
It’s not always about buying something new. Sometimes it’s about getting the right tool for the weird job that keeps coming up.
A Quick Checklist for Better Positioning
Here’s what to run through before every lift. Review this checklist to ensure every lift is safe and efficient:
- The machine is level and stable.
- Center the attachment over the block’s center of gravity.
- Both gripping points engage evenly.
- The lifting line is as close to vertical as possible.
- Test lift completed with no tipping or slipping.
- The operator has a clear view of the load and landing zone.
Master Every Lift: Proper Positioning Is Essential
Proper positioning for a concrete block lifting device isn’t complicated, but it does take focus and care to get right. Even seasoned professionals can benefit from reevaluating their approach, as minor adjustments to setup can yield significant improvements in efficiency and safety.
You can’t phone it in and expect good results. Taking the extra moment to double-check your positioning can prevent costly delays and equipment damage down the line. The difference between a smooth lift and a near-miss usually comes down to thirty seconds of setup time.
Use the proper attachment. Take a breath and get it lined up. And don’t skip the test lift. Your back, your crew, and your project timeline will all thank you.

Leave a Reply
Want to join the discussion?Feel free to contribute!